Amiga 1000 PSU recap
If you have stability issues with your 34 years old Amiga 1000 it's a very good idea to check
the output lines of the power supply: +12V,-5V and +5V!
Plug pinout:
 Check with scope to also see ripple and noise or rough with a multimeter!
Current
Voltage Min. Max. Stability Ripple & Noise
------------------------------------------------------------------------------
+5V 2A 8A +/- 5% 150 mV P-P
+12V 0A 1A +/- 5% 150 mV P-P
-5V 0A 0.25A +/- 5% 150 mV P-P
When it comes out that the output values are too bad you have to replace the old capacitors of the PSU! For this you must disassemble the whole computer due the position of the power supply:

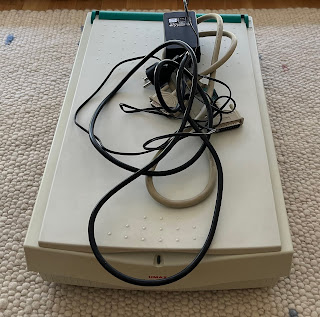
I have the Shindengen CA1000PS/EC (PAL Version)!
Documentation: Link

the output lines of the power supply: +12V,-5V and +5V!
Plug pinout:

Current
Voltage Min. Max. Stability Ripple & Noise
------------------------------------------------------------------------------
+5V 2A 8A +/- 5% 150 mV P-P
+12V 0A 1A +/- 5% 150 mV P-P
-5V 0A 0.25A +/- 5% 150 mV P-P
When it comes out that the output values are too bad you have to replace the old capacitors of the PSU! For this you must disassemble the whole computer due the position of the power supply:

I have the Shindengen CA1000PS/EC (PAL Version)!
Documentation: Link
If everything disassembled you should have this PCB:

List of capacitors: (with Digikey order links)
C04 10uF, 35V (Link)
C09 4,7uF, 50V (Link)
C10 1uF, 50V (Link)
C11-C13 2200uF, 10V (Link)
C16 470uF, 35V (Link)
C18 330uF, 25V (Link)
C15,C17,C19 100uF, 25V (Link)
C50 180uF, 400V (Link)
After recapping:


Remark: Please pay attention to the polarity of the electrolyte Capacitors!!!

Kommentare
Kommentar veröffentlichen